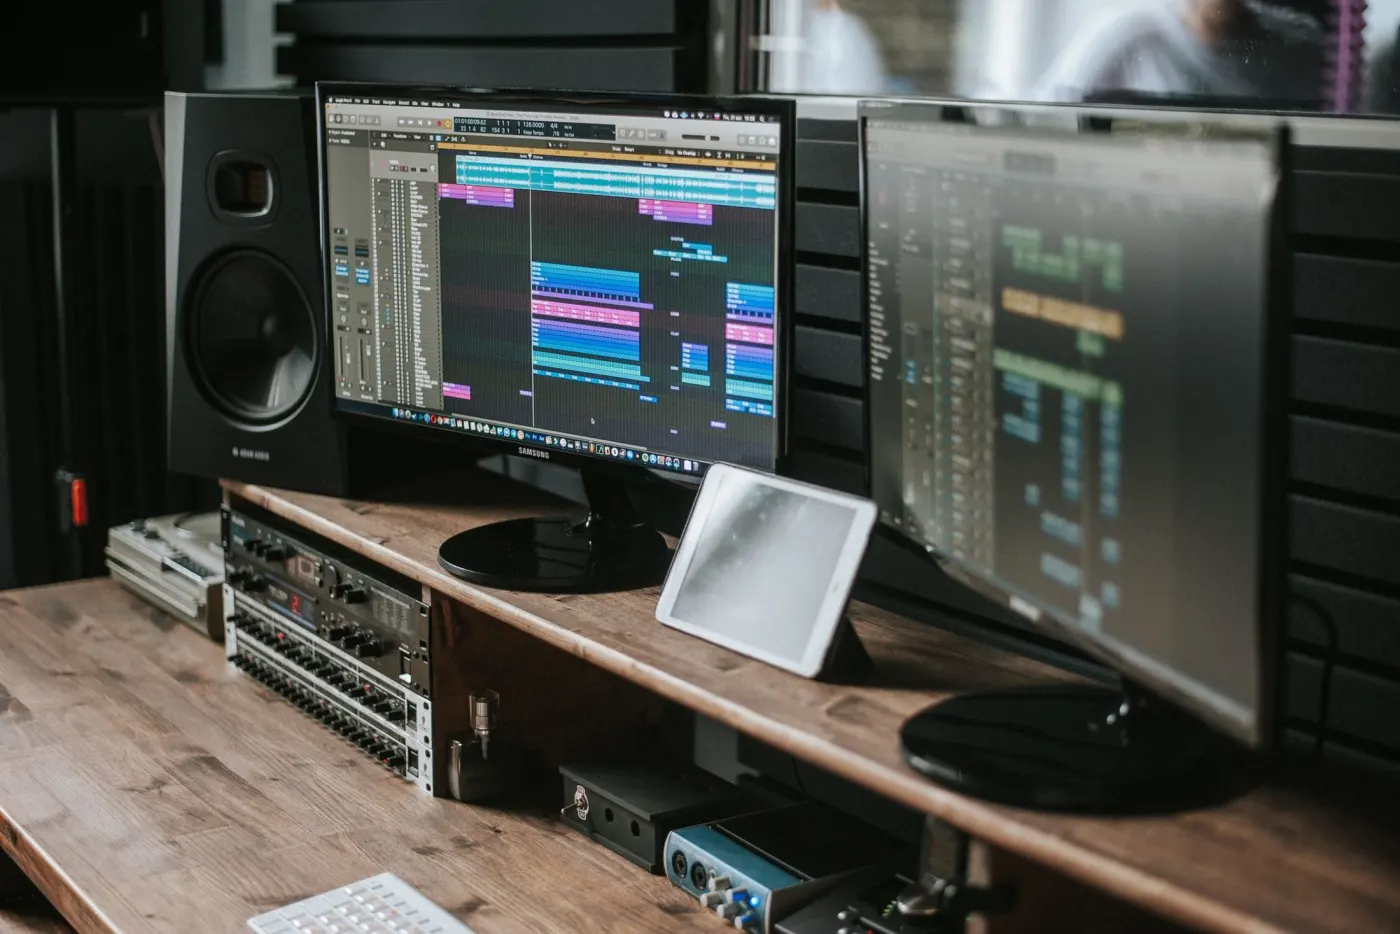
Room EQ Wizard, REW for short, is free software that plays a test sweep through your speakers and records what arrives at your seat. It is how home cinema owners see their room’s bass problems instead of guessing at them, and it needs less equipment than most people expect.
What you need
A computer that runs REW. It is a free download from roomeqwizard.com for Windows, macOS and Linux. A paid Pro upgrade adds measuring several microphones at once; a single seat needs only the free version.
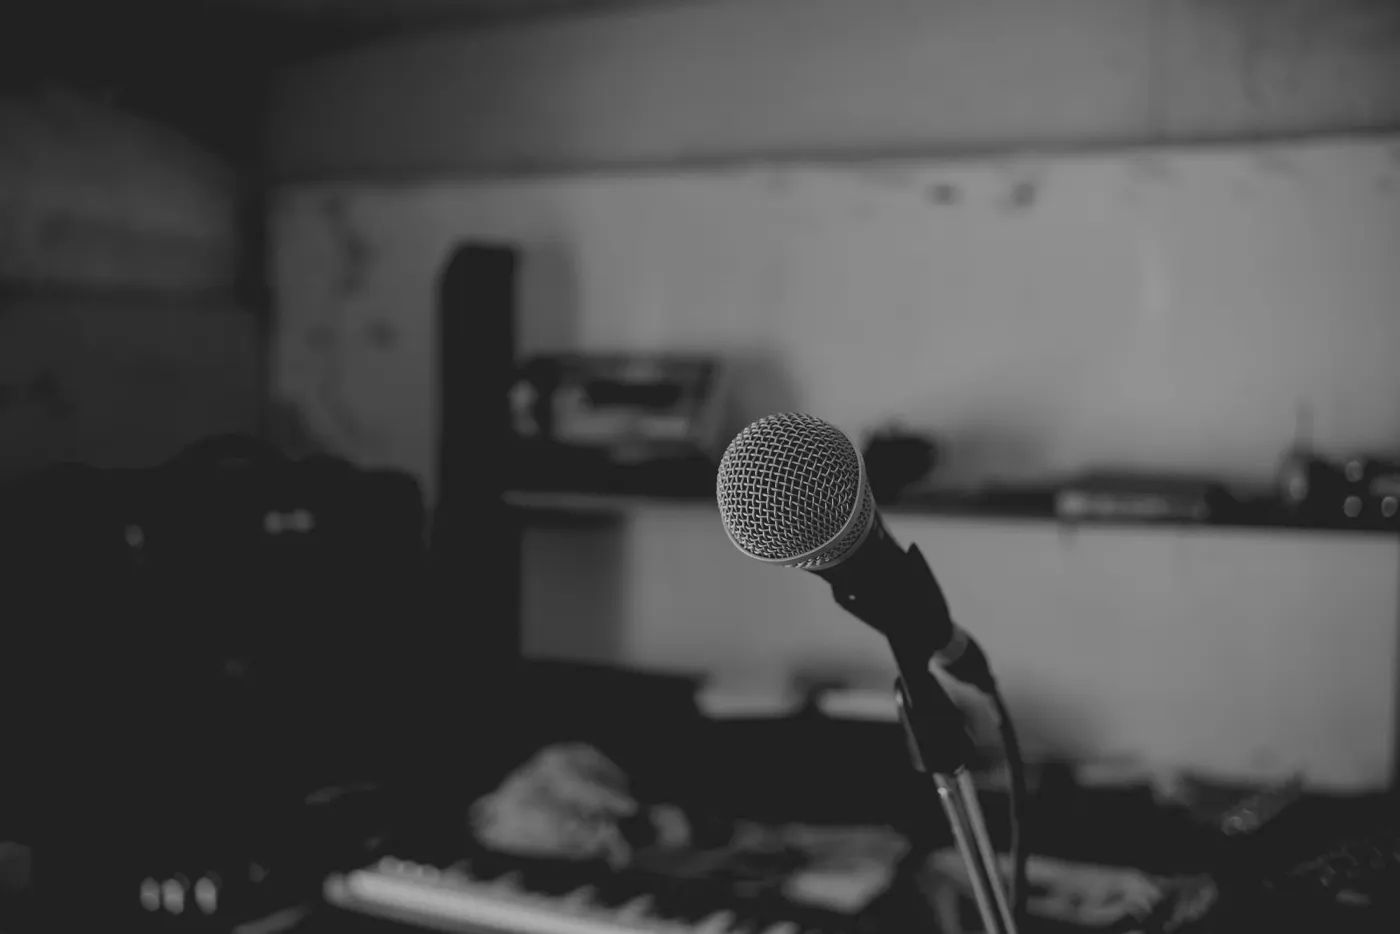
A measurement microphone with its own calibration file. REW’s getting-started guide suggests a USB microphone such as miniDSP’s UMIK-1, which needs no audio interface; every unit has a calibration file made for its serial number. A microphone with an audio interface works too. A phone’s microphone has no calibration file, so its readings in the deep bass and the treble cannot be trusted.
A way to send sound to the receiver. An HDMI cable from the computer is the simplest, if both support audio over HDMI: choose the HDMI audio device as REW’s output in its preferences, and switch off any anti-clipping feature on the receiver, as REW’s guide advises.
A stand or tripod for the microphone. REW’s guide warns that small movements of the microphone change the results, so it should never be hand-held.
The settings that matter
Load the microphone’s calibration file in REW before anything else. miniDSP’s advice for the UMIK-1: use the 90° file with the microphone pointing at the ceiling, which suits surround systems and is the one to use for multichannel Dirac Live; use the 0° file with it pointing at the speaker for a stereo pair. With a USB microphone whose calibration file carries a sensitivity figure, REW needs no separate sound level calibration.
Set the level with REW’s Check Levels, which plays pink noise and warns in red when there is less than 6 dB of headroom: a clipped input spoils the measurement. REW usually measures at about 75 dB SPL at the seat, and the exact figure is not critical. If the input reads low, raise the microphone’s input gain, not the test signal.
Keep REW’s default sweep: 256k long, which its help says works well for most purposes, at −12 dBFS. Set the start and end frequencies to the range you want to see; REW sweeps a little beyond both. Use the same settings for every measurement you mean to compare.
With a USB microphone and HDMI output, the computer and the receiver run on separate clocks, so REW cannot tell how long the sound took to arrive. That matters when you compare speakers with each other or line a subwoofer up with them: switch on REW’s acoustic timing reference, which plays a short high-frequency signal through a speaker you choose before each sweep. It cannot be the subwoofer. With this set-up REW also advises a single sweep rather than several repeated ones.
Measure first. Then change one thing at a time.
Your first sweep
Put the microphone on its stand at ear height in your usual seat, pointing the way its calibration file expects. Keep the room quiet and stay still while the sweep plays; that is common sense rather than a REW rule, but noise and movement show up in the result.
For a first ‘before’ measurement, many people switch off the receiver’s room correction, Dynamic EQ and Dynamic Volume, so the graph shows the room rather than the processing. This is common practice, not a REW requirement. Whatever you choose, keep it the same for every measurement you compare.
Measure one speaker at a time: choose the output channel in REW, or switch off or disconnect the others, as REW’s guide suggests. Measure the subwoofer on its own, then the subwoofer together with the front left speaker; those two are the starting point for the subwoofer integration guide.
Name each measurement by seat and speaker, such as ‘Main - sub’ or ‘Main - L’, then the same for the next seat. The REW Analyzer reads names written that way to sort seats from speakers, which saves relabelling later.
Keep it, then read it
File, Save measurement keeps everything in one .mdat file, REW’s own format: every measurement with its impulse response and settings. REW can also export a measurement as text, or its impulse response as a WAV file, for other programs.
Open the .mdat file in the REW Analyzer on this site: it runs in your browser, uploads nothing, and lists the biggest problems first, from a bass peak to a dip at the crossover. Our guide to reading a measurement explains each graph.
Mind the smoothing. For a response you plan to equalise, REW’s help recommends its variable smoothing; very heavy smoothing irons out the narrow bass peaks and dips you set out to find.
The usual first-time mistakes are a clipped input, the wrong calibration file, a microphone that moved between measurements, and comparing measurements made at different levels or settings. Check those before trusting a surprising result.